I know it's been 3 months since I last posted anything on here, but I do have a good excuse! I just finished up my first full-time semester since having kids...with all As at that! So me and my nerdy self have a short break from school to share some yummy and fun recipes. I have been cooking during my 3-month blogging hiatus, just never got around to letting anyone know about it...except of course my hungry family who would starve to death if I didn't cook every once in a while ;). I have made some mac' & cheese cupcakes (that the kids will eat), the PERFECT potato soup (the recipe that I've always been looking for but somehow just found), and some other goodies that I'll share with you another day soon. But today I must share with you my latest and greatest treat....cake pops! I suppose I have Starbucks to thank for this obsession since I had never heard of them until they popped up on their menu one day (don't get the Tiramisu cake pop...it's NASTY!) I was roaming the aisles of Target on Mother's Day and found the
Bakerella Cake Pops recipe book on sale for $13. In honor of Mother's Day I bought it for myself...I'm sure if my daughters were old enough they would've bought it for me :). I just made my first batch of these tasty treats tonight using cherry chip cake mix, white whipped frosting, and dark chocolate candy coating. I took step-by-step pictures to show you how I did it.
First you will need:
2 - 16 oz. bags candy coating (I only bought one and it wasn't quite enough)
1 - 18.5 oz. cake mix (any flavor)
1 - 16 oz. can ready made frosting (any flavor that goes with your cake mix)
sucker sticks
sprinkles/decorations
styrofoam block
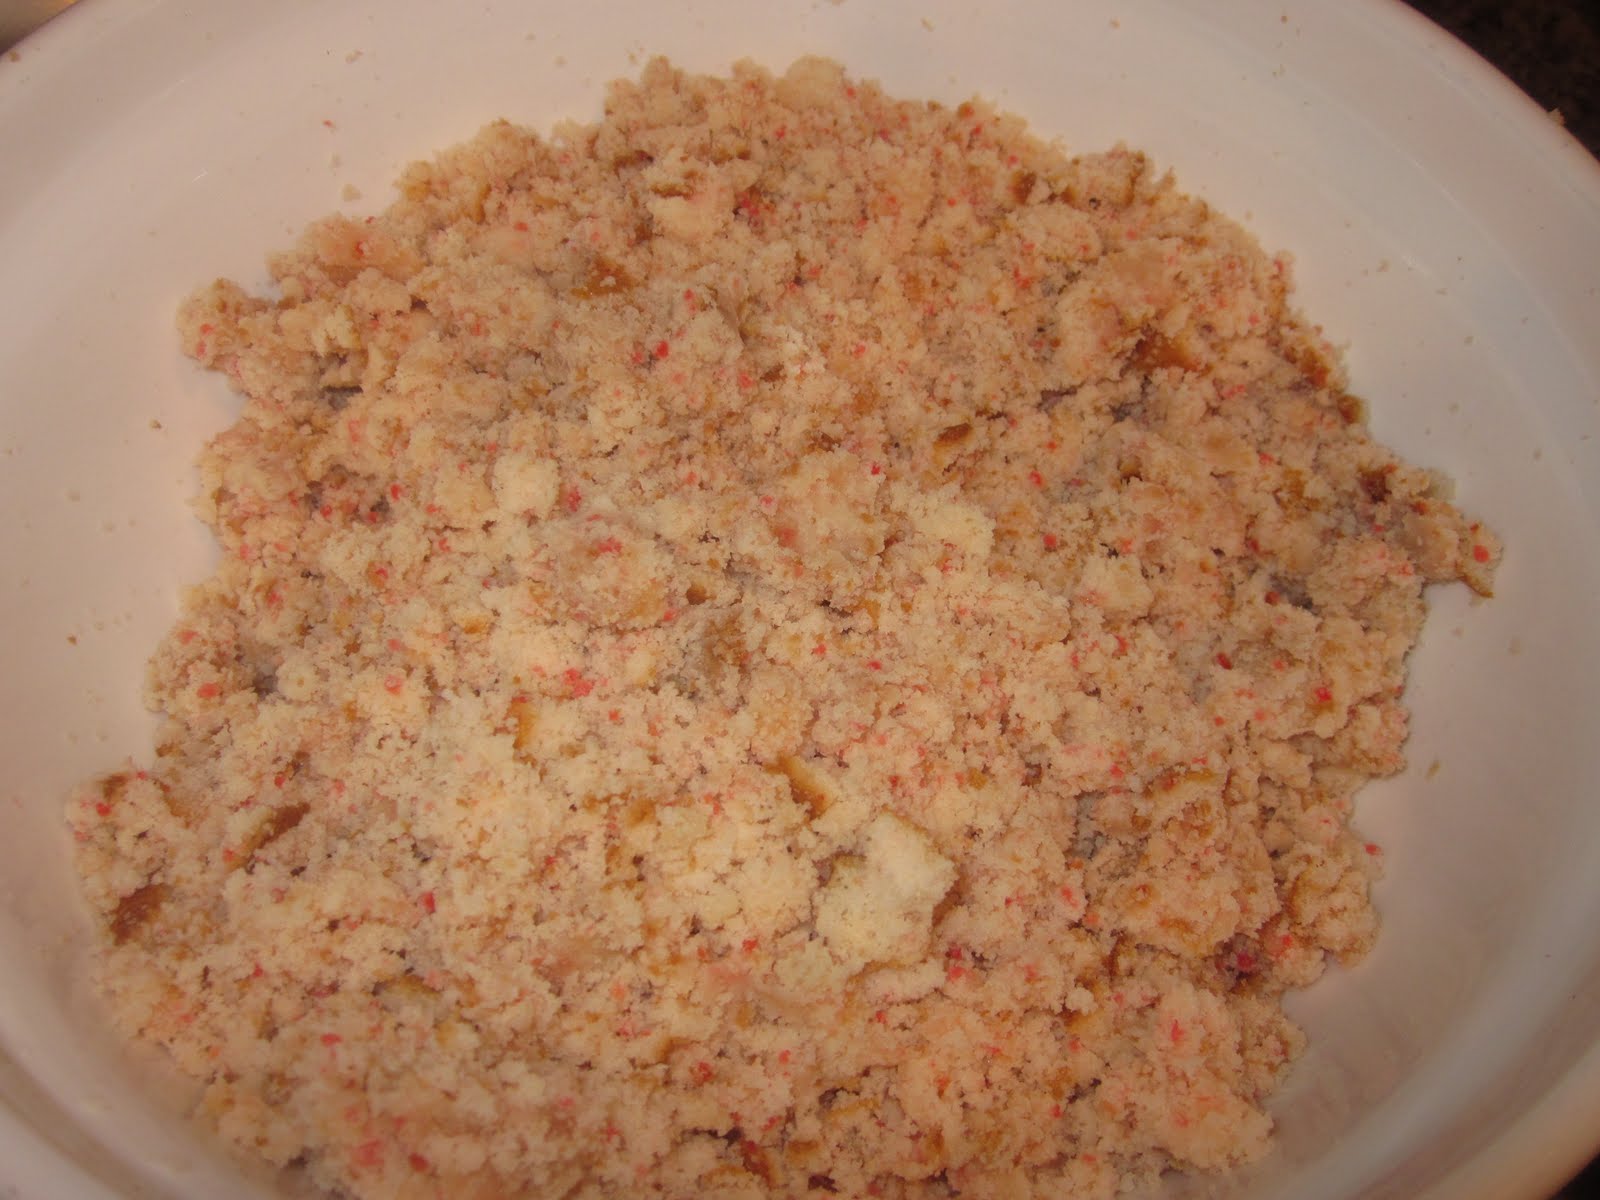
First you're going to bake your cake mix according to the box directions for a 13"x9" pan. Once your cake has completely cooled you're going to crumble the whole thing up into a large bowl (
my daughters I really liked this part).
Next you're going to get messy and mash in
3/4 of the can of frosting (not the whole thing) with your hands until it is well "mushed".
Now you're going to roll approximately 1 1/2" balls with your hands and lay them out on wax paper lined cookie sheets. You should end up with about 48 cake bites, of course this depends on how much you nibbled on as you were rolling them...I ended up with 42 ;).
Cover with plastic wrap and place them in the refrigerator for several hours or overnight until they harden. You can also place them in the freezer for 15 minutes instead (hmm...guess which one I did?) Once they're done in the freezer place them in the refrigerator to keep them cool while you get your candy coating ready. You'll want to use a smaller bowl so the coating will be deep enough to dip your cake pops into. Microwave at 50% power for about 2 minutes, stirring every 30 seconds. Take out your tray of cake bites and get out your sucker sticks. Dip each sucker stick about 1/2" into the candy coating and push about halfway into the cake bite. Once they are done, place them back into the refrigerator.

You may need to reheat your candy coating for about 15 seconds at 50% power to warm it back up. If you need to thin your candy coating use about a teaspoon of vegetable oil or shortening, do NOT add water! Take out a couple cake pops at a time, leaving the rest in the refrigerator so they stay firm, and dip
once into the coating so that it covers all the cake (if you dip it more than once it will make it too heavy and your cake will fall off the stick). Slowly pull it up. While leaving it hanging over the bowl, tap your wrist with your other hand so that any excess coating will fall back into the bowl.
Put your cake pop right side up poking it into the styrofoam block to hold it up while it dries. Immediately sprinkle any decorations you like on it before it hardens. Repeat with the remaining cake pops and store in the refrigerator.
Last but definitely not least, ENJOY your cute creations!